How to Set Up a Mixing Console for Live Performances
Understanding the Basics of a Mixing Console
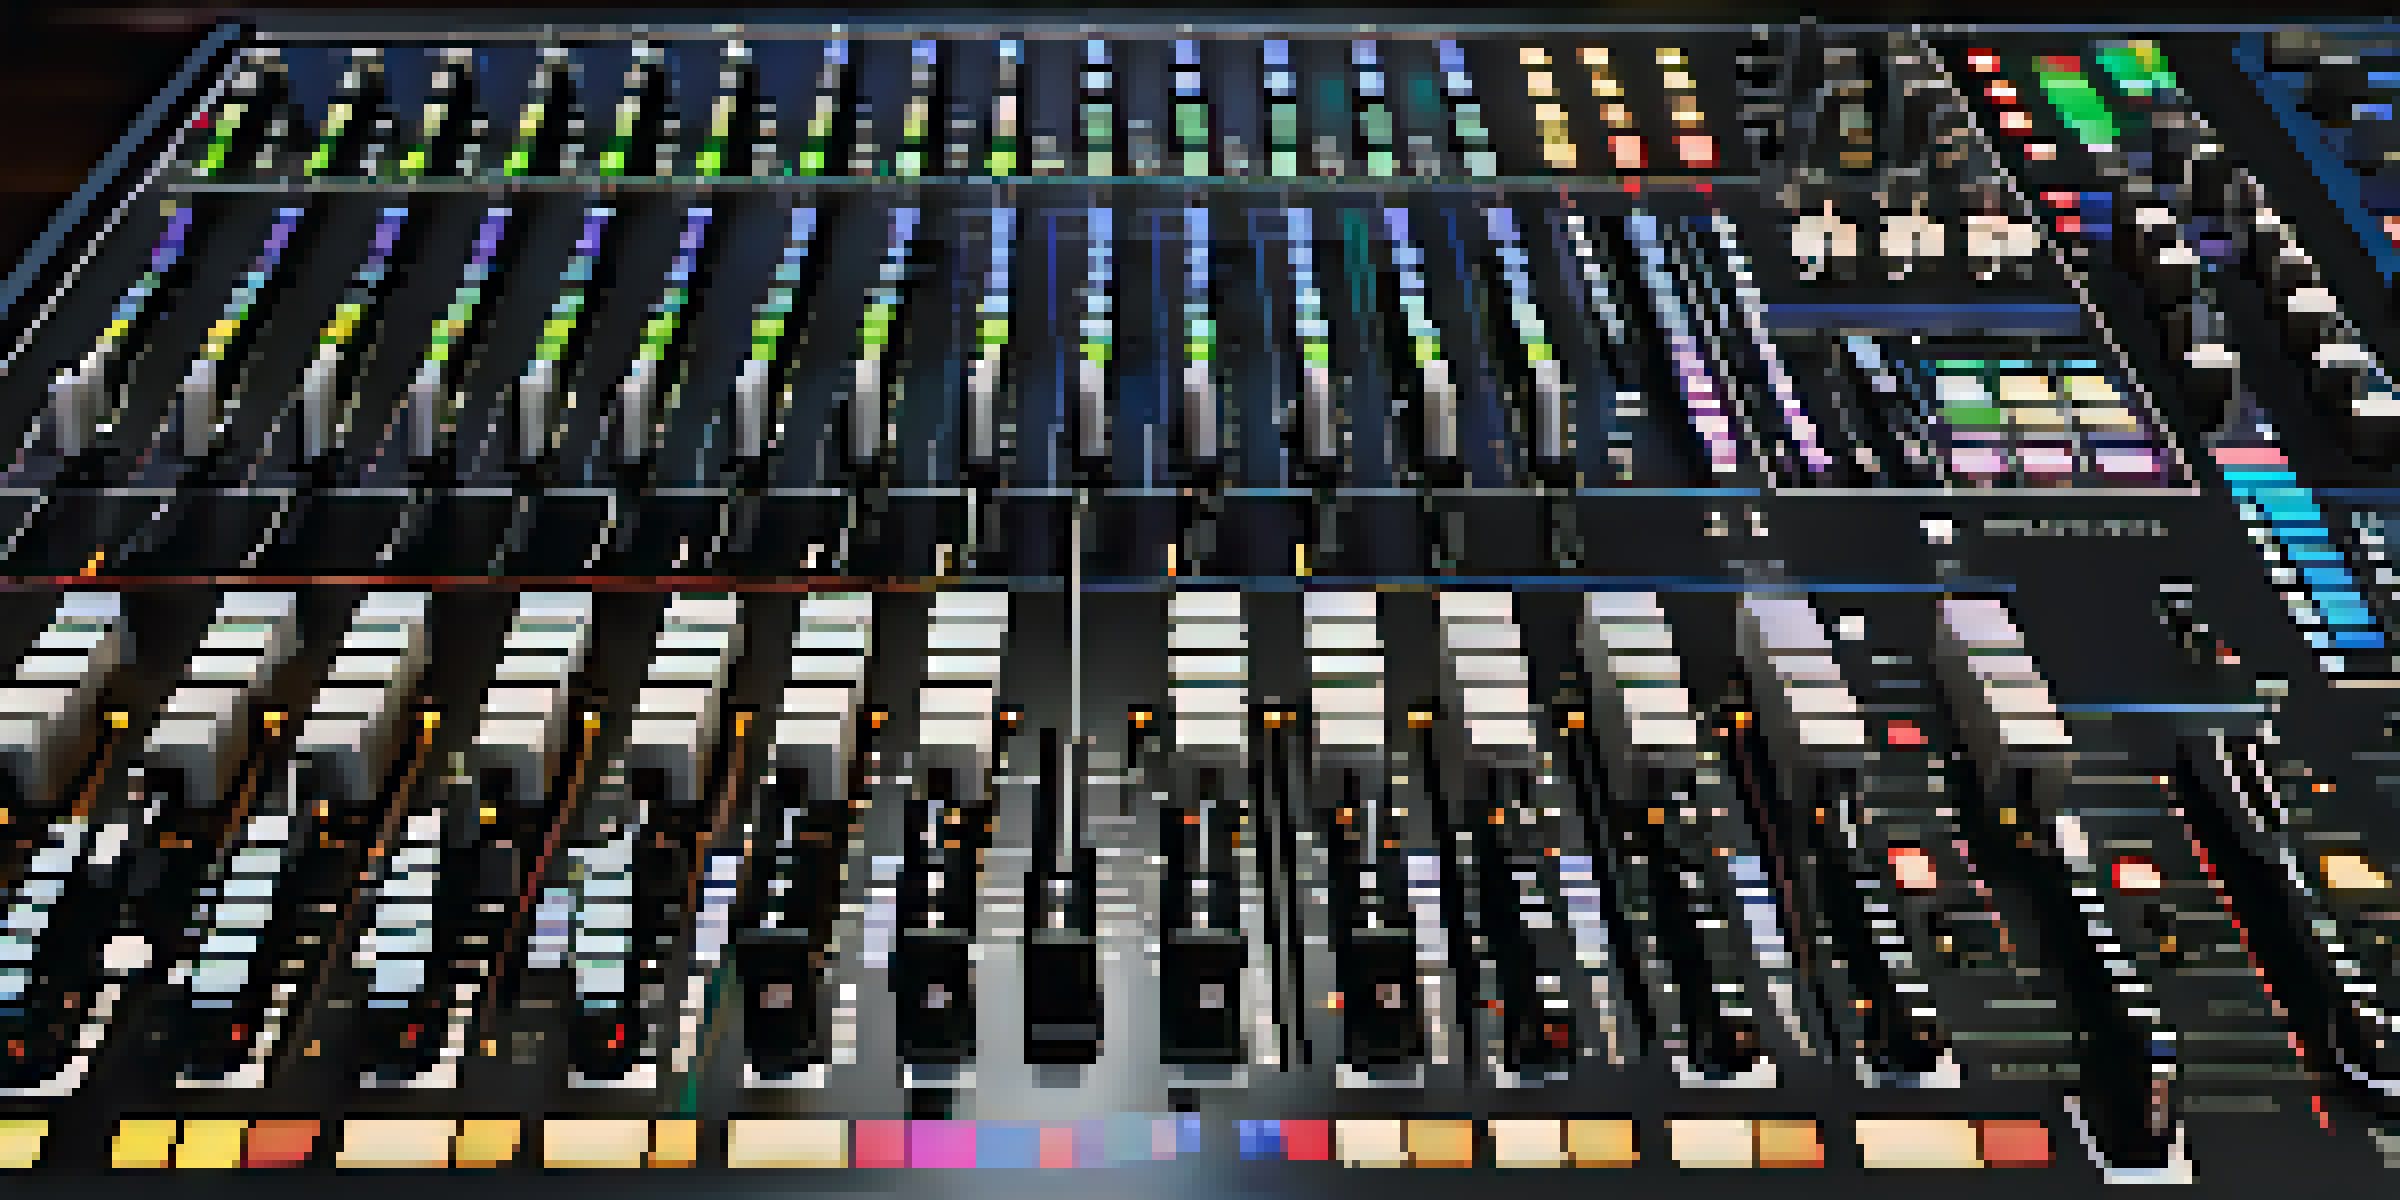
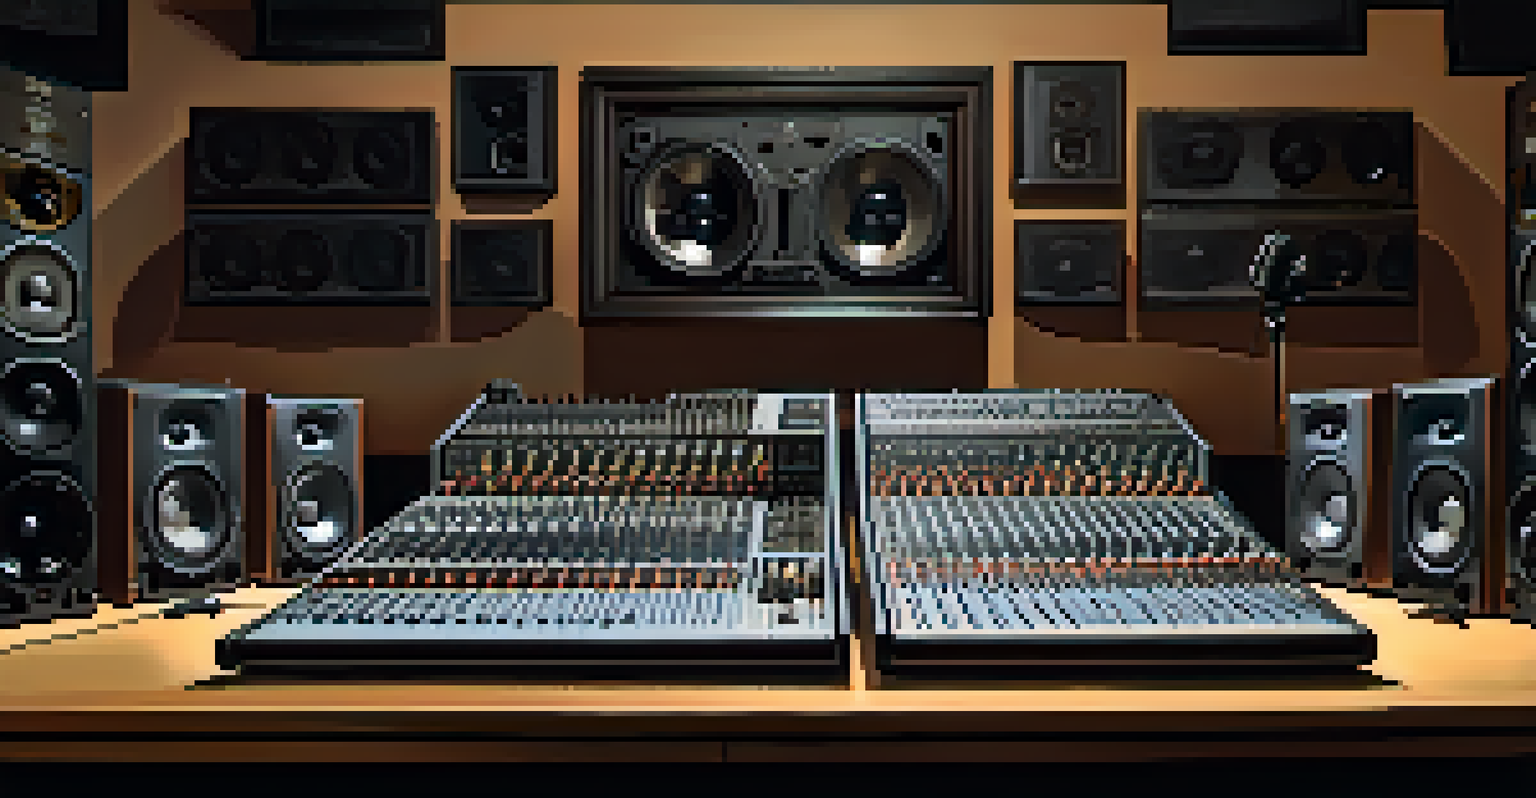
A mixing console, often referred to as a mixer, is a crucial piece of equipment for live performances. It allows sound engineers to combine various audio signals from microphones and instruments into a cohesive output. Understanding its basic components, such as channels, faders, and EQ settings, is essential for effective sound management.
Music brings people together, and sound engineers are the unsung heroes who make it all happen.
Each channel on the mixer represents a different audio source, from vocals to guitars. The faders control the volume levels of each channel, while the equalization (EQ) settings help shape the sound. Familiarizing yourself with these elements will set a solid foundation for your mixing journey.
Think of the mixing console as a traffic controller at a busy intersection, ensuring that each audio signal flows smoothly without any jams. Mastering these basics will empower you to create a balanced and engaging sound for your audience.
Gathering Your Essential Equipment
Before setting up your mixing console, it's crucial to gather all necessary equipment. This includes microphones, instruments, cables, and speakers, along with the mixer itself. Having everything on hand will streamline the setup process and minimize delays during sound checks.
Additionally, consider investing in quality cables and connectors, as they can significantly impact sound quality. Using reliable equipment ensures that the performance runs smoothly, reducing the likelihood of technical glitches.
Master the Mixing Console Basics
Understanding the primary components of a mixing console, such as channels and EQ settings, is essential for effective sound management.
Imagine preparing for a camping trip; you wouldn't want to realize you forgot your tent at the last moment! Similarly, having all your gear ready to go will help you focus on delivering an outstanding performance.
Positioning Your Mixing Console for Optimal Use
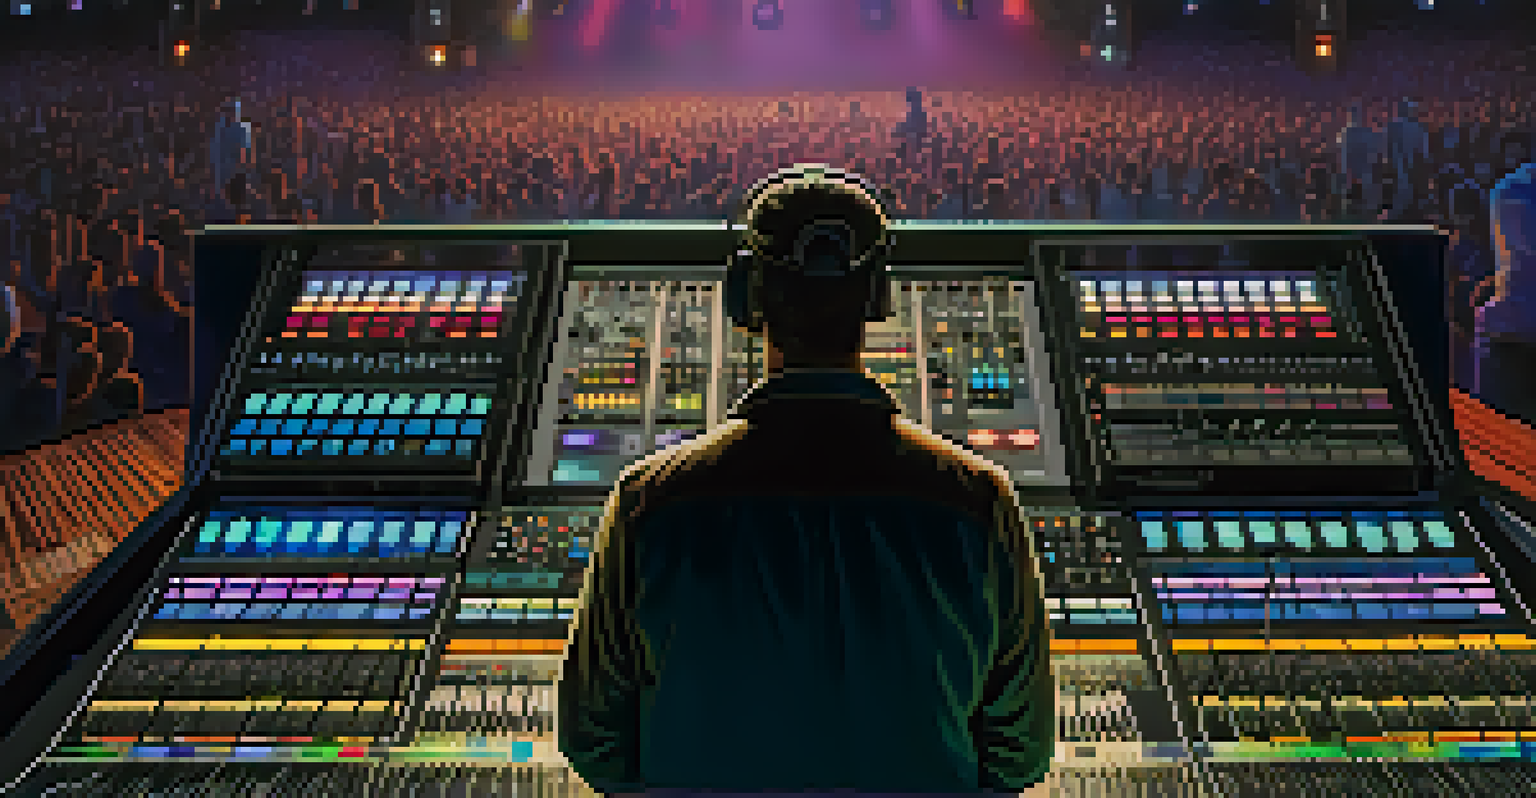
The physical placement of your mixing console can greatly influence your ability to mix effectively during a live performance. Ideally, it should be positioned in a location where you have a clear line of sight to the stage and the audience. This allows you to gauge the sound dynamics and make adjustments as needed.
The best sound is the one you don’t notice, but feel deep within your soul.
Consider the venue's layout, as well. If the sound travels differently in a large open space compared to a smaller club, you may need to adjust your position accordingly. Being physically present in the right spot will help you respond to any unforeseen audio challenges during the show.
Think of it like a conductor leading an orchestra; being in the right spot allows you to hear every note and make adjustments in real-time, ensuring a harmonious performance.
Connecting Your Audio Sources to the Mixer
Once your console is positioned, it's time to connect your audio sources. Begin by plugging in microphones and instruments into the appropriate channels on the mixer. Make sure to label each input source for easy identification during the performance.
It's also important to check the levels of each input. This ensures that no single source overpowers the others, creating a balanced mix. Use the gain knobs to adjust levels as needed, aiming for a peak that doesn't distort the sound.
Gather All Essential Equipment
Having all necessary microphones, instruments, and quality cables ready ensures a smooth setup and minimizes delays during sound checks.
Imagine cooking a meal; you wouldn’t want too much salt or spice in one dish. Balancing your audio inputs will create a flavorful mix that pleases the audience's ears.
Setting Up the Sound Check for Your Performance
A sound check is an integral part of preparing for a live performance, allowing you to fine-tune the mix before the audience arrives. Start by testing each microphone and instrument individually, adjusting levels and EQ settings as necessary. This is your chance to catch any issues before they become a problem during the show.
Encourage performers to play at their usual volume during the sound check. This gives you a realistic representation of how the mix will sound when they perform live. Trust your instincts and make adjustments based on your experience and what sounds right.
Think of it like tuning a guitar; you need to ensure every string is in harmony before the concert kicks off. A thorough sound check lays the groundwork for a seamless performance.
Monitoring Sound Levels During the Performance
During the live performance, actively monitor sound levels and adjust the mix as needed. Pay attention to how different instruments and vocals interact with each other. If one element starts to dominate the mix, don’t hesitate to lower its level to maintain balance.
Utilizing headphones can also be beneficial, allowing you to hear nuances that may not be as apparent through the main speakers. This can help you catch any feedback or unwanted noise before it becomes disruptive.
Conduct a Thorough Sound Check
A sound check allows you to fine-tune levels and EQ settings, ensuring that every audio source is balanced before the performance begins.
Think of it as a DJ mixing tracks; you’re constantly adjusting the levels to keep the dance floor alive. Staying engaged with the mix ensures that the audience enjoys a captivating sound experience.
Troubleshooting Common Mixing Issues
Even with the best preparations, technical issues can arise during a live performance. Common problems include feedback loops, distortion, and imbalanced sound levels. It's crucial to remain calm and collected, as panic can exacerbate the situation.
Having a basic troubleshooting checklist can be helpful. For instance, if feedback occurs, check microphone placement and levels. If distortion is present, verify that the gain settings are not too high. Knowing how to address these issues quickly can save the performance.
Consider it like being a firefighter; when a fire breaks out, you need to think on your feet. Addressing issues swiftly ensures the show runs smoothly and keeps the audience engaged.
Wrapping Up: Ensuring a Successful Performance
After the performance, it’s important to wrap up efficiently. Disconnect all audio sources and pack up your equipment carefully to avoid damage. Taking the time to properly store your gear will prolong its lifespan and ensure it’s ready for the next show.
Additionally, seek feedback from performers about the sound quality during the show. This information can be invaluable for future performances as it helps you refine your mixing skills further.
Think of it as reviewing a movie after watching it; reflecting on the experience allows you to improve and create even better performances in the future. Embracing this process will enhance your journey as a sound engineer.